Setup Journaling , Backup, watchdog , routing in Gsuite

The following is a step to setup Journaling, backup, watchdog, routing in Gsuite

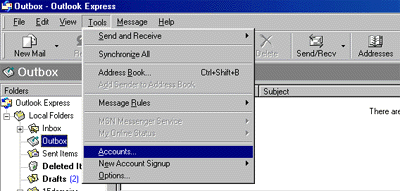
  1. Login to google admin console.
  2. Go to manage users
  3. There create email id for journaling
  4. Now go back to admin console page in search just type routing you will land to Apps > Gsuite > Settings For Gsuite> Advance settings or  From the Admin console dashboard, go to Appsand thenG Suiteand thenGmailand thenAdvanced settings.
  5. On the left, select the organization.
  6. Scroll to the Routing setting in the Routing section, hover over the setting and click Configure. If the setting is already configured, hover over the setting and click Edit or Add another.
  7. Enter a unique name that’ll help you identify the setting.
  8. Go to the next step to configure the setting.
  9. You can set up the routing policy for:Inbound (any incoming messages)
    Outbound (any outgoing messages)
    Internal sending (internal message sent to another user in your organization)
    Internal receiving (internal message received by another user in your organization)
    Note: This includes messages originating outside of Gmail that are SPF or DKIM authenticated by one of
    your domains.For example, select Inbound, Internal-receiving, or both, to set up split delivery, dual delivery, or a catch-all address (or all 3) and to route messages to additional recipients.

    Check the boxes next to the messages you want the policy to apply to.
    For split delivery or dual delivery, select Inbound, Internal-receiving, or both.
    To set up a catch-all address or to route messages to additional recipients, select Inbound, Internal-receiving, or both.

    Go to the next step to continue.

    After that you will see Also Deliver to: there you will have to mention your journalling email id.

    10.You will have to save it.

    11. You will see a message at bottom of the screen to save it. You will have to  save it again.

    12.At last you will see something like below


    Setup Journaling , Backup, watchdog , routing in Gsuite

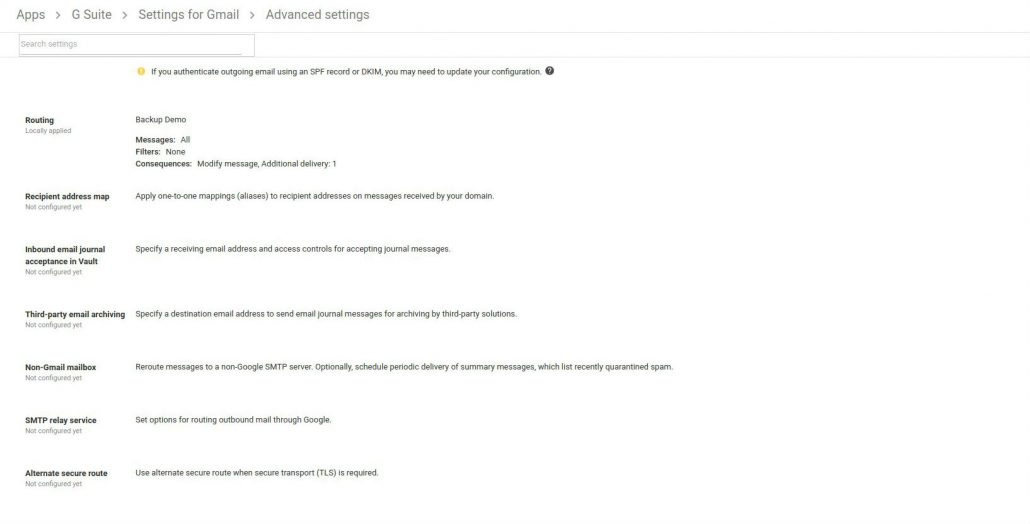
  10. All your policy is created.


How to configure an e-mail account in Outlook Express

If you have an email account set up on the server, you may want to configure Outlook or Outlook express to send/receive email from this email address. To configure Outlook to connect to your account, please do the following:

  1. Open Outlook Express
  2. Go to “Tools” and click on “Accounts
    OutlookExpress
  3. An “Internet Accounts” window will pop up. Select the Mail tab, then “Add“, then click on “Mail“.
    OutlookExpress
  4. This will start up Internet Connection Wizard. Enter your name where it says “Display name:” and click “Next” at the bottom right.
    OutlookExpress
  5. Select the Next button
  6. Enter your Email address in the input box. This does NOT have to be your “username@yourdomain.com”( you can use “john@yourdomain.com, webmaster@yourdomain.com, etc). Then click Next

  7. Click the Next button
  8. In the Incoming mail field type mail.yourdomain.com.In the Outgoing mail (SMTP)field type mail.yourdomain.com
    (so if your domain name is elitepolls.com, then you would put “mail.elitepolls.com” there). Click Next
    OutlookExpress
  9. For the Account Name, type the full email address (including the domain name). In the Password section, type the password for the email.
    OutlookExpress
  10. Click the Next button
  11. Click the Finish button
    OutlookExpress
  12. You should still see the Mail tab, so click the Properties button
  13. Select the Servers tab
  14. Check the box at the bottom which says “My server requires authentication”
  15. Select the Advanced tab
  16. At the top, you will see “Server Port Numbers” and “Outgoing mail (SMTP):” with a value of 25. You need to change this to port 26 if you are not able to send emails using 25.
  17. Click the Apply button, OK button, and the Close button.
  18. You’re done! Now you can test your email.